Licensed & Insured — NJ HIC #13VH13359900
njgoldstarconstruction@yahoo.com · 24/7 Emergency · (862) 271-1225

Home › Gallery
Before & After Work Across Bergen County and North Jersey
Roofs, chimneys, stonework, decks and driveways — real projects finished by our own crew.

Retaining Wall & Steps
Masonry · Franklin Lakes
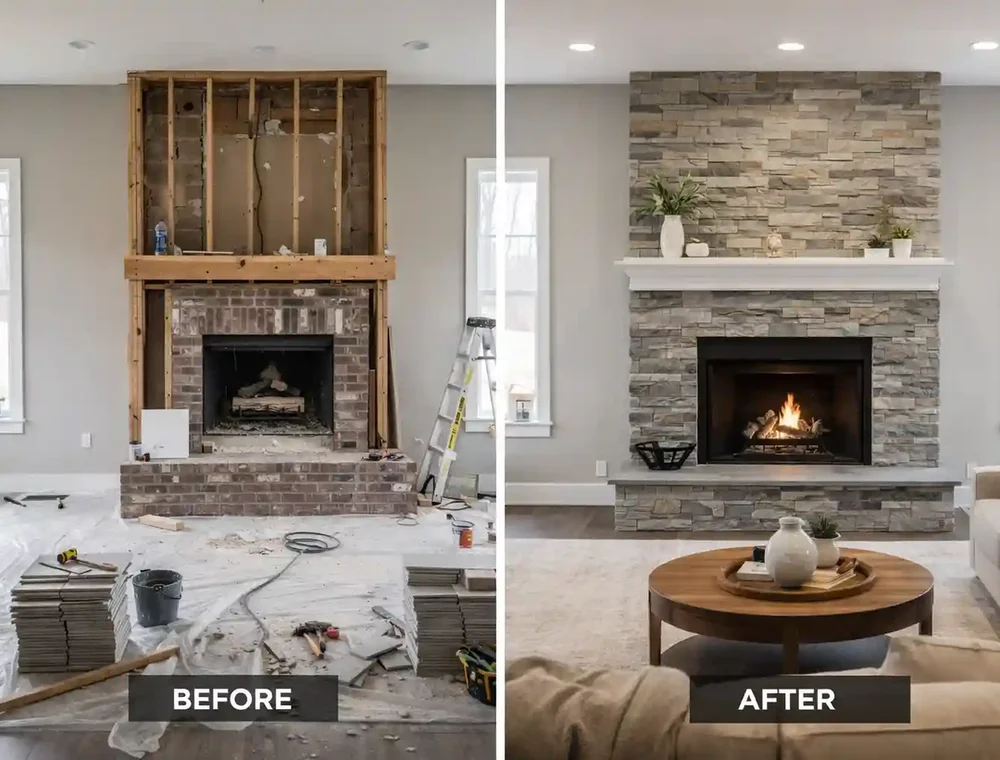
Fireplace Renovation
Stone veneer · Ridgewood
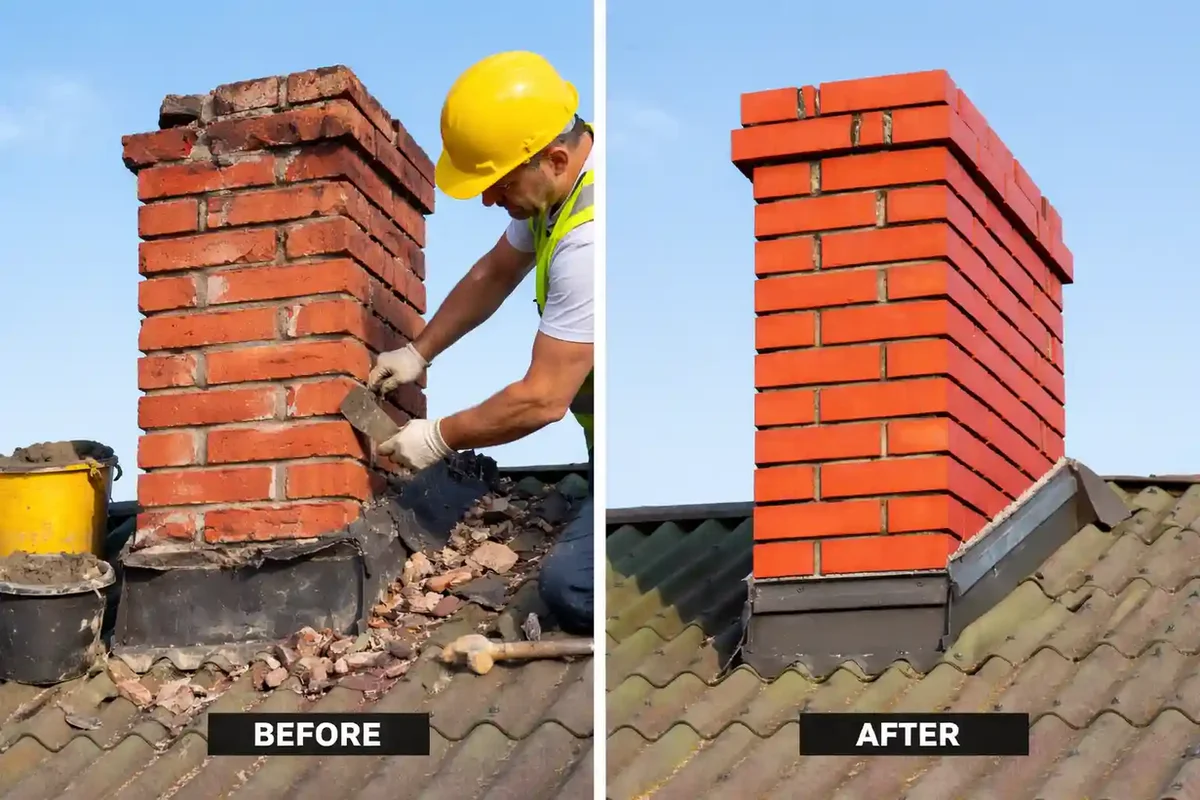
Chimney Rebuild
Chimney · Hackensack
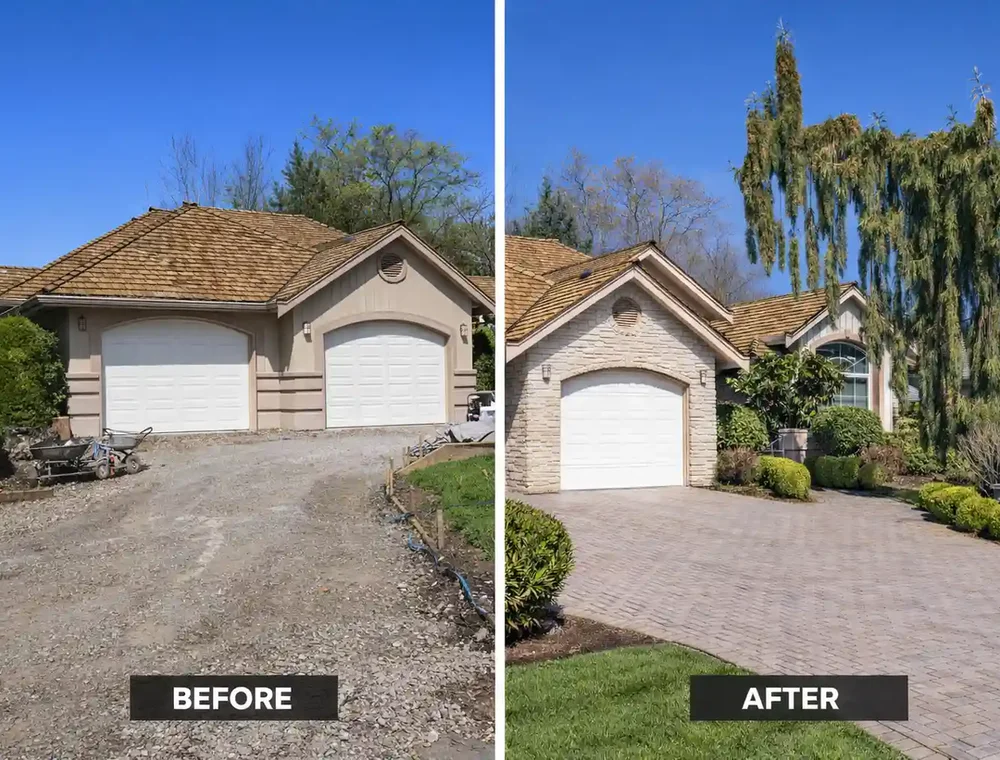
Paver Driveway
Paving · Paramus
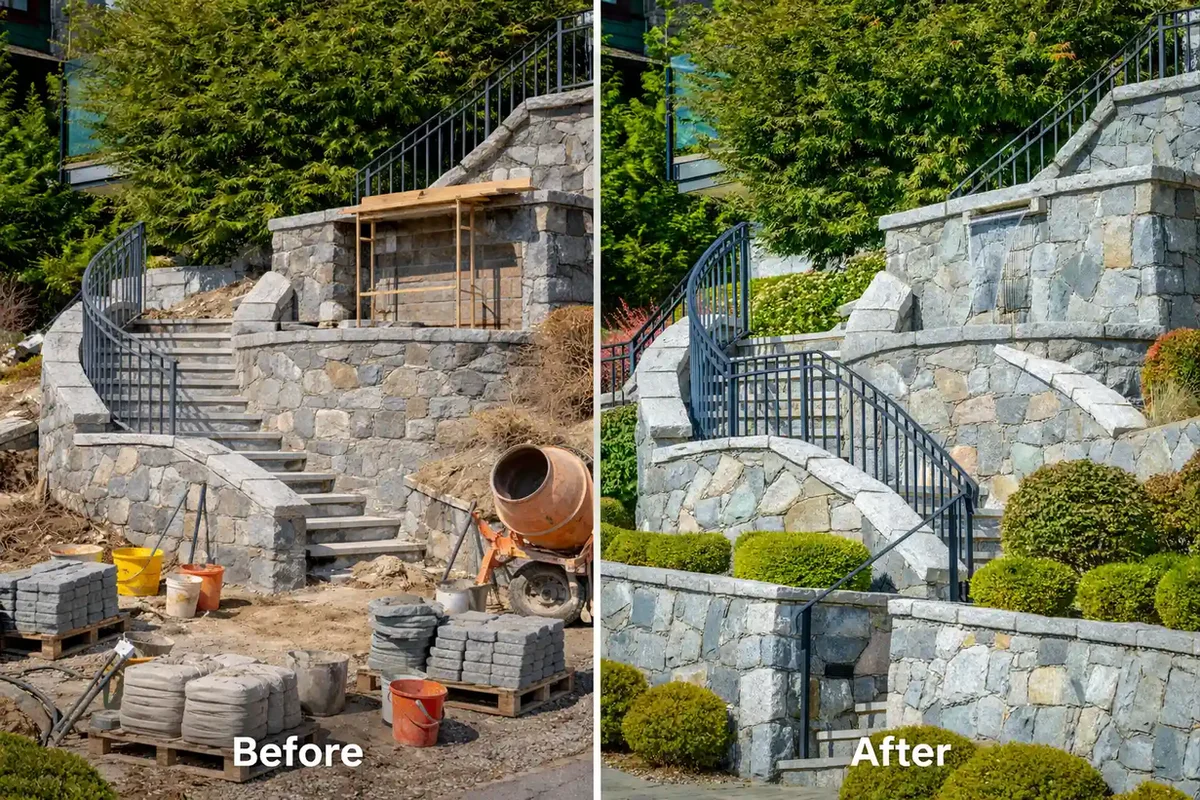
Stone Staircase & Wall
Masonry · Bergen County
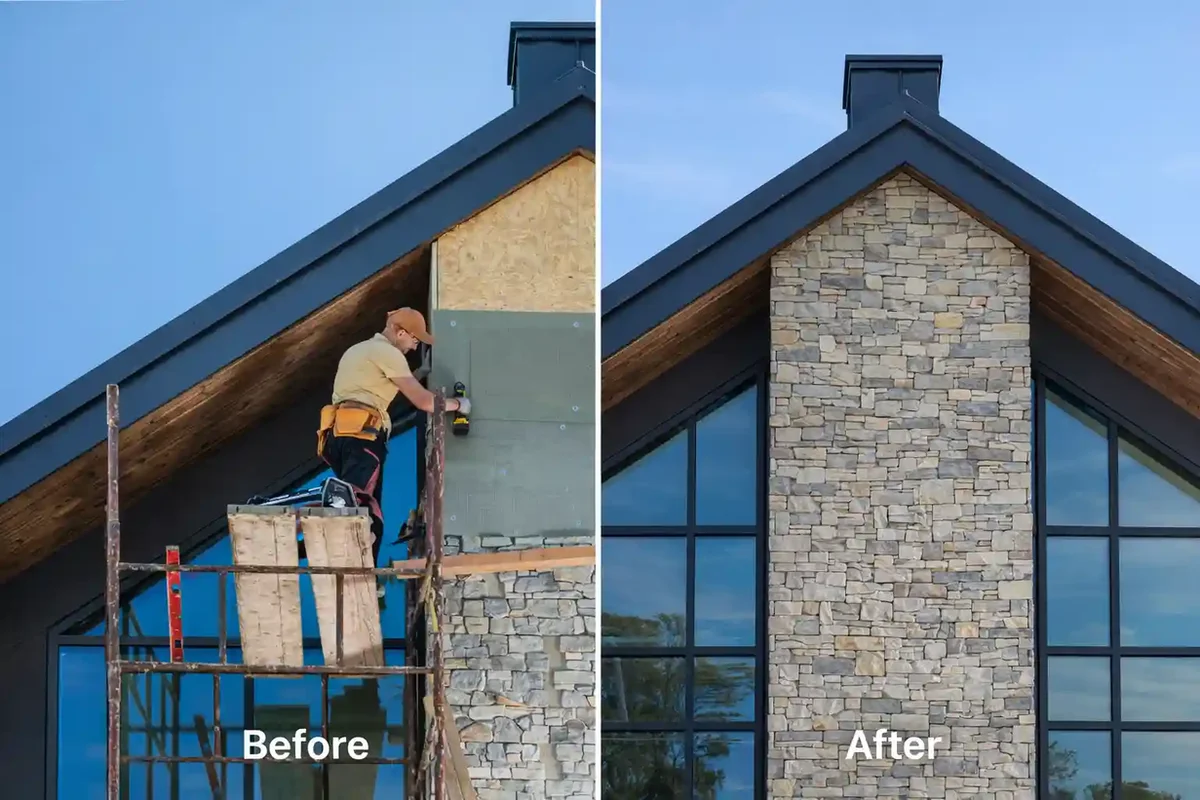
Stone Veneer Gable
Masonry · North Jersey
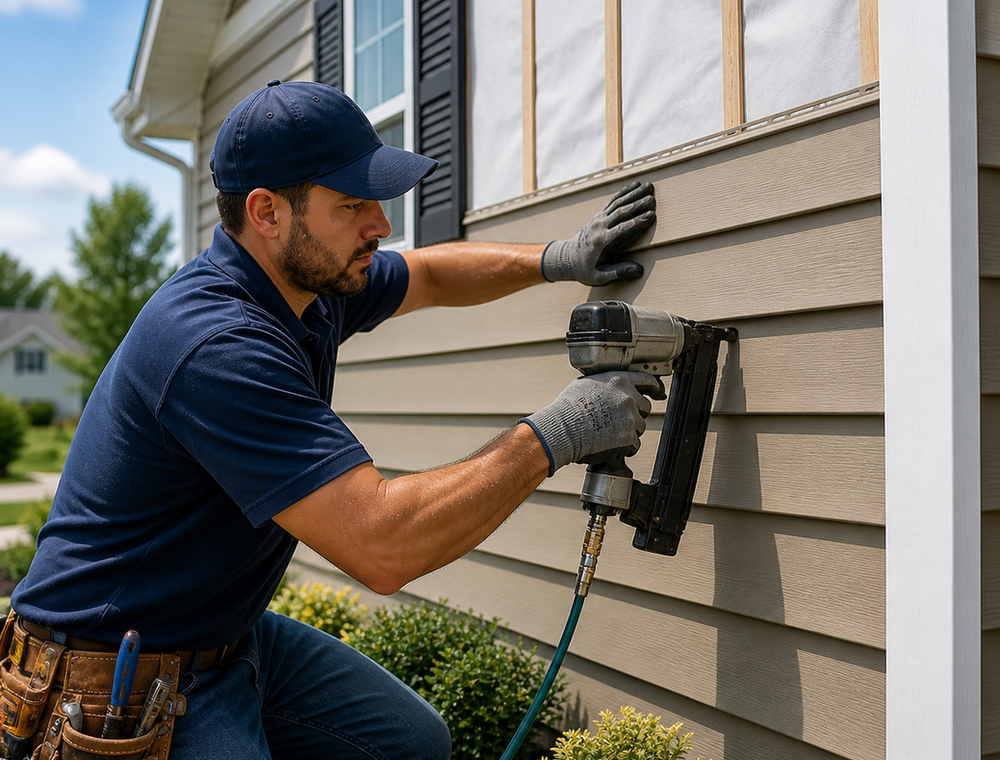
Siding & Stone Veneer Chimney
Siding · North Jersey
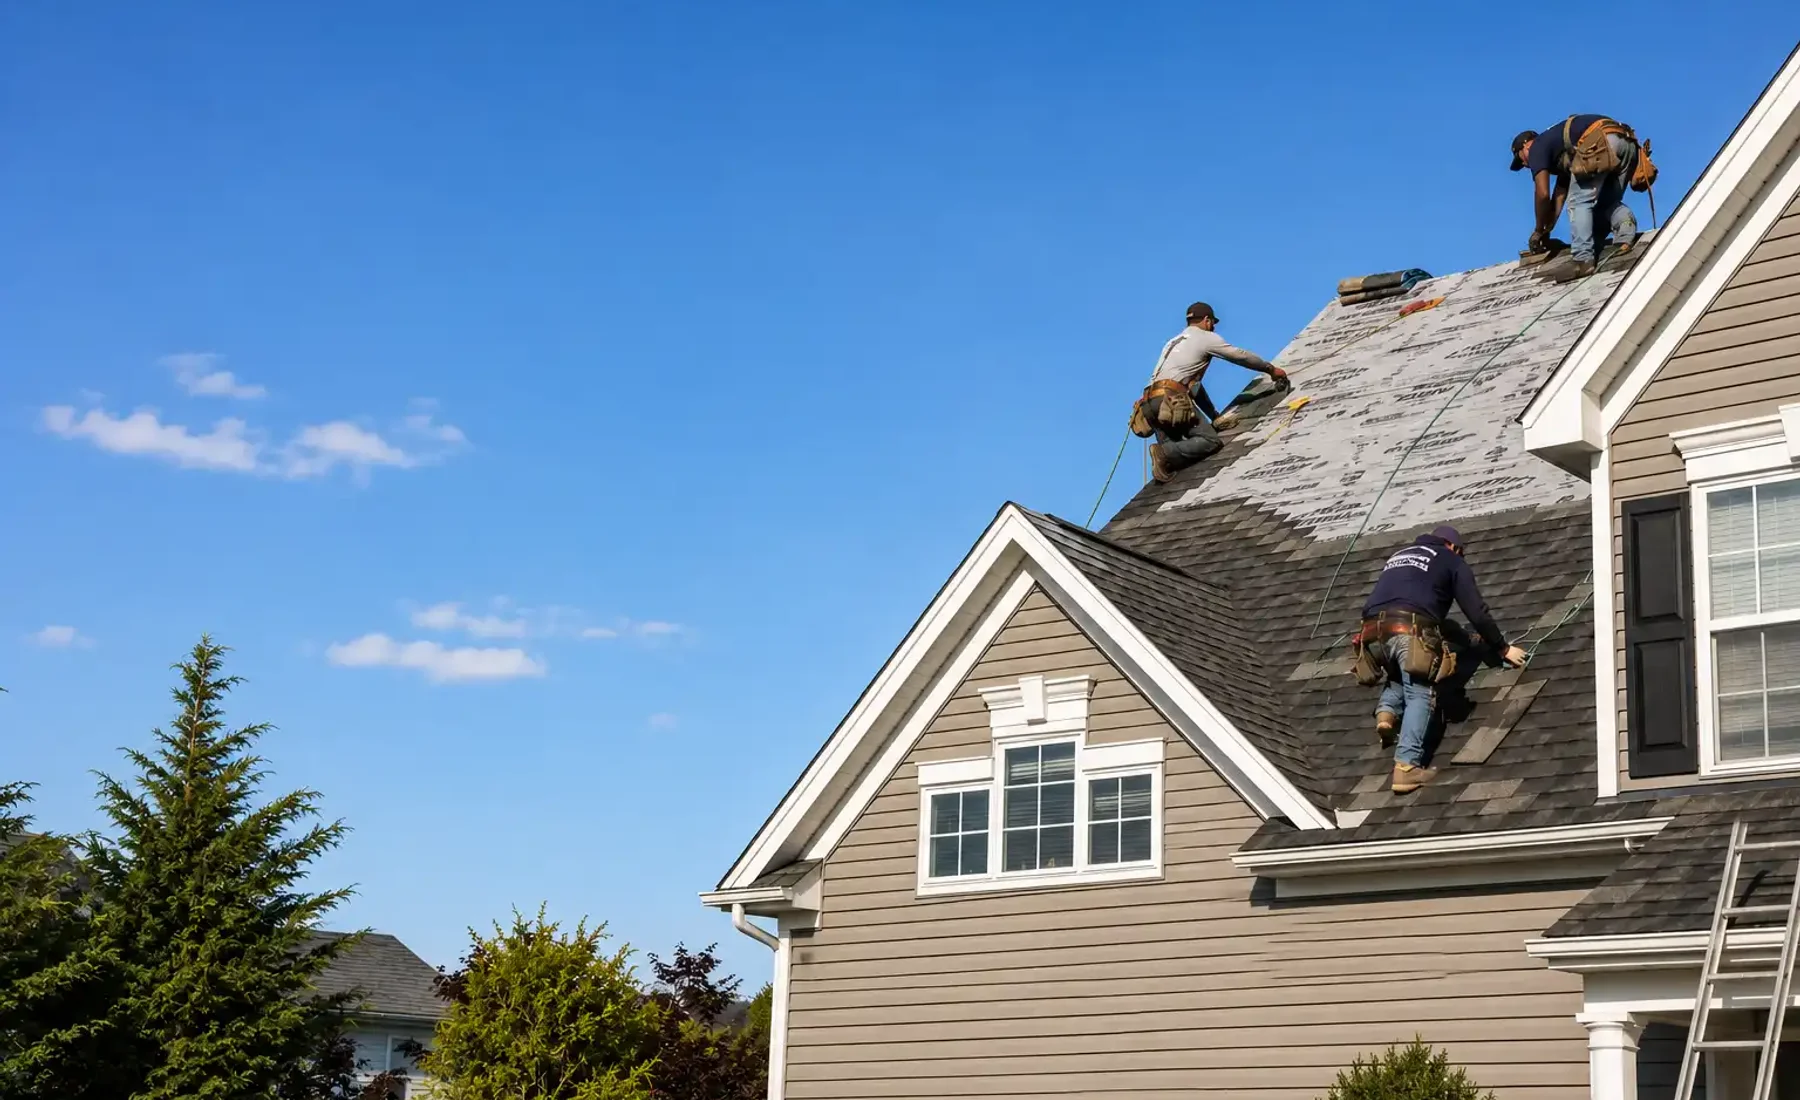
Full Roof Replacement
Roofing · Bergen County
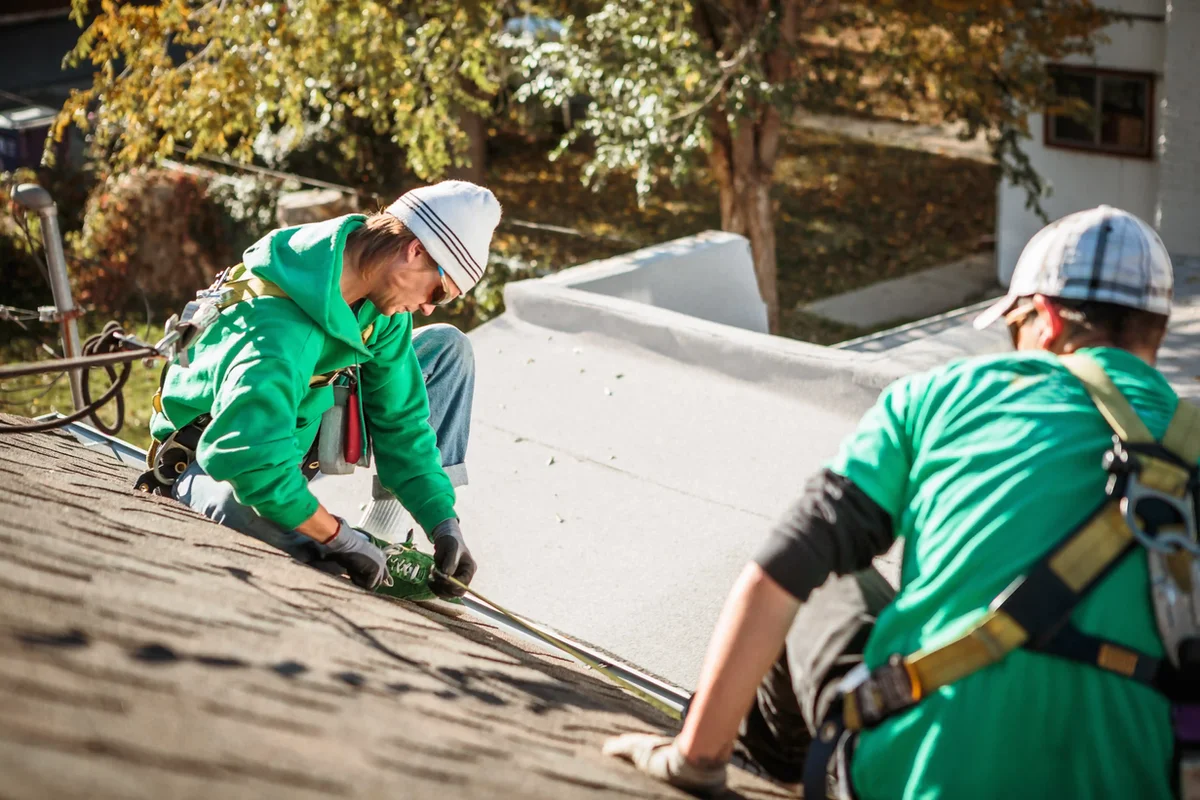
Roof Repair
Roofing · North Jersey

Storm Damage Repair
Roofing · Passaic County
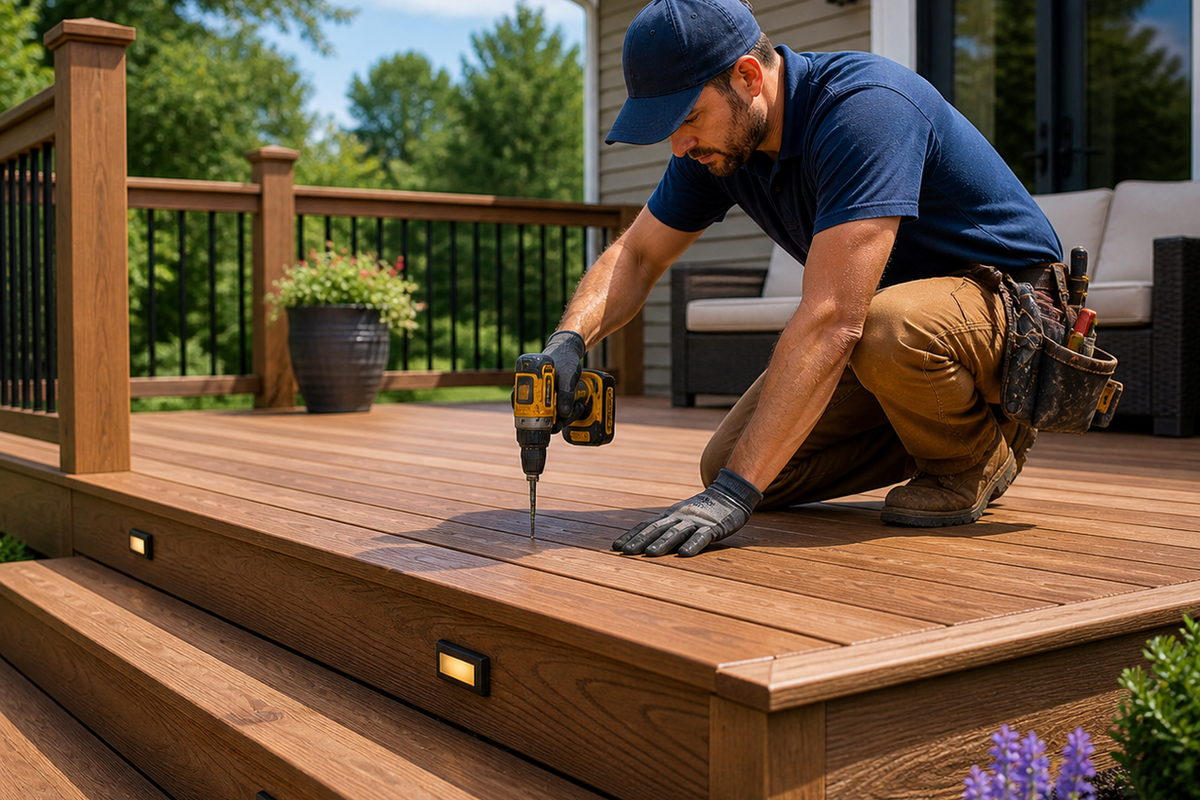
New Deck Build
Decks · North Jersey
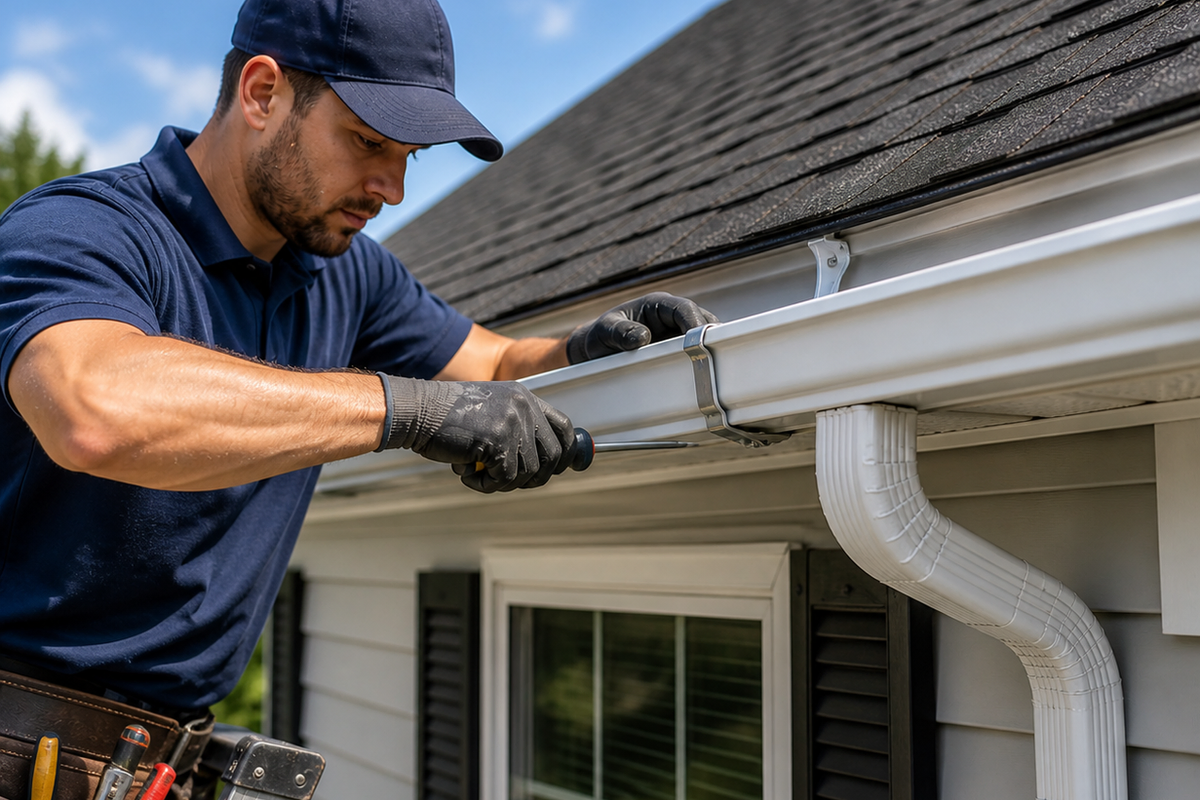
Seamless Gutters
Gutters · Bergen County

Chimney Repointing
Chimney · Totowa
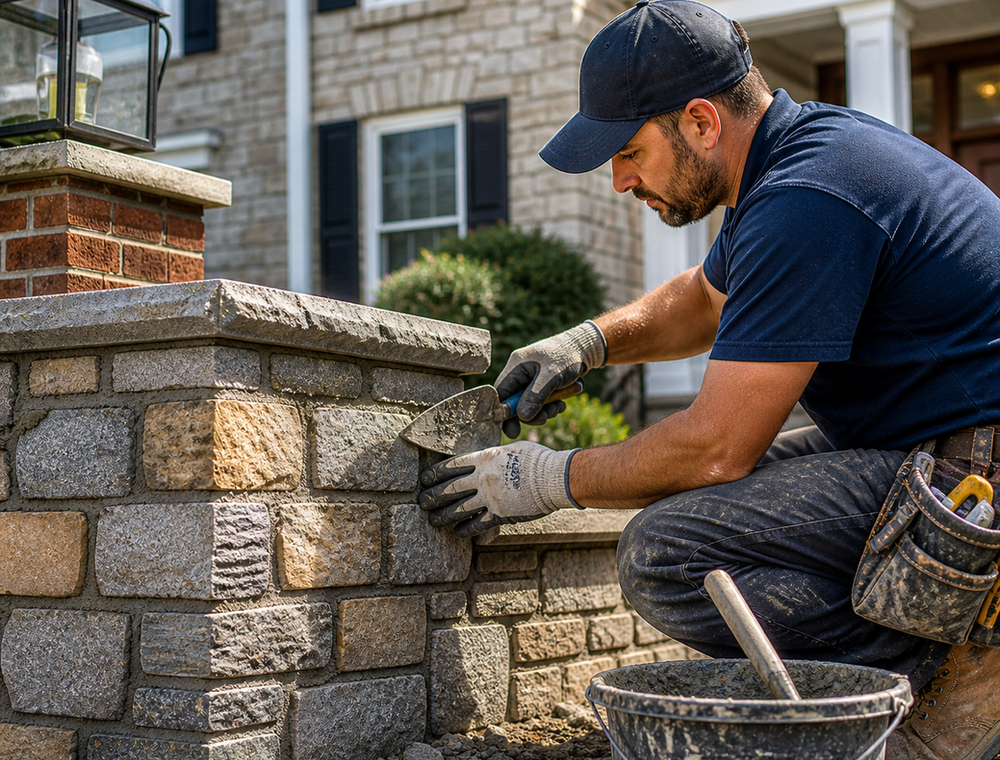
Stonework & Walls
Masonry · Bergen County

New Shingle Roof
Roofing · Bergen County
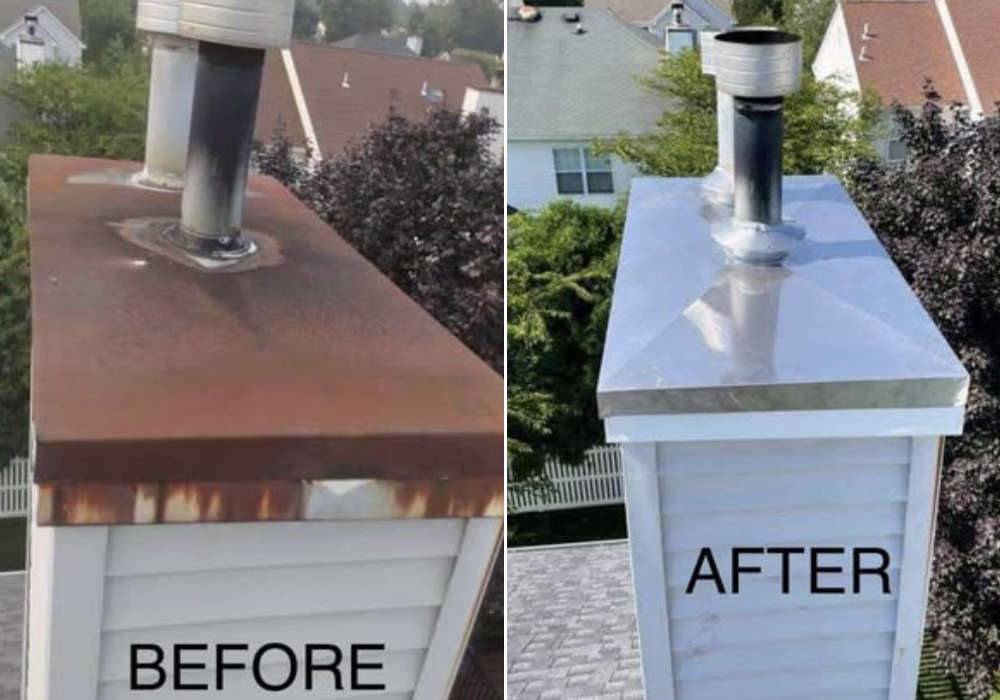
Our Crew On Site
Roofing · Bergen County
More photos on Facebook
New before-and-afters get posted as jobs wrap up.
What a well-built retaining wall and stone staircase look like
A well-built retaining wall shows straight, level coursing, consistent joint lines and visible drainage — either weep holes or a gravel backfill — behind the face. A stone staircase should have even riser heights, a slight forward slope on each tread so water sheds off, and no rocking stones when you step on the edge.
Our Franklin Lakes retaining wall and steps project and our Bergen County stone staircase and wall job, both in the gallery above, share the same underlying standard: the part you cannot see is what keeps the part you can see from failing. A wall that traps water behind it instead of draining it is the single biggest cause of the bowing, cracking and frost heave we get called to fix.
What to look for in a before-and-after
- Coursing lines that stay level and consistent from one end of the wall to the other, not just at eye level near the front.
- Drainage — gravel backfill, a perforated pipe, or weep holes — rather than a solid wall of stone with nowhere for water to go.
- Step treads with a slight pitch away from the house so water does not pool and refreeze.
See our full masonry services and steps and stoops pages for how we scope this kind of work.
What quality chimney rebuild and repointing work involves
Quality chimney rebuild and repointing work matches the existing mortar color and joint width, ties new brick courses into sound old masonry rather than just stacking on top, and finishes with a crown that sheds water away from the flue and a cap that keeps rain and animals out — not just fresh-looking brick from the ground.
The Hackensack chimney rebuild and Totowa chimney repointing projects in the gallery both started the same way: mortar joints open enough to let water in, freezing and thawing until brick faces spalled or the stack leaned. A rebuild replaces compromised courses down to sound masonry; repointing removes failed mortar to a consistent depth and repacks it, rather than skimming a thin layer over the surface.
Signs the work was done right
- New mortar joints are a consistent width and depth, not just filled wherever a gap was visible.
- The chimney crown slopes to shed water and overhangs the brick slightly, instead of sitting flush with it.
- Flashing where the chimney meets the roof is stepped and counter-flashed, not just caulked.
Our chimney rebuilds and chimney repair pages cover both in more detail, and chimney cap installation is the finishing piece on most rebuilds.
Fireplace stone veneer and stone veneer gable work
Stone veneer over a fireplace or gable needs a drainage plane and flashing behind it, not just adhered stone against sheathing, because veneer is a rain screen the same way siding is. The Ridgewood fireplace renovation and the North Jersey stone veneer gable in the gallery both cover masonry or framed structure with a weather barrier underneath.
Stone veneer looks like solid masonry from the sidewalk, but on a fireplace surround or a gable end it is usually a manufactured or thin-cut stone applied over a prepared substrate. The Ridgewood fireplace renovation replaced a dated surround; the North Jersey stone veneer gable job covered a section of siding with an accent that needed to be flashed exactly like the panel it replaced.
What separates a good installation from a callback
- A weather-resistive barrier and metal lath (or a manufacturer-approved system) behind the stone, not stone glued straight to sheathing.
- Flashing at the top of the veneer and anywhere it meets a roofline, window or door.
- A weep screed at the base so any moisture that does get behind the veneer has somewhere to drain.
This kind of work usually pairs with chimney or siding projects, since the flashing details overlap.
What a properly built paver driveway looks like underneath
A properly built paver driveway rests on a compacted aggregate base at least 6 inches deep on well-drained soil, with roughly a 1-inch layer of bedding sand, rigid edge restraints holding the perimeter, and narrow joints — about 1/16 to 3/16 inch — packed with jointing sand, per the Concrete Masonry & Hardscapes Association’s construction specification.
The Paramus driveway improvement in the gallery is a good example of why paver work fails or holds up for decades: almost everything that matters is buried before the first paver goes down. The Concrete Masonry & Hardscapes Association’s construction specification recommends at least 6 inches of compacted aggregate base for residential driveways on well-drained soil (4 inches is the minimum for lighter-traffic patios and walkways), an uncompacted bedding sand layer around 1 inch thick, and edge restraints with a vertical face against the outer row of pavers so the whole field cannot spread under vehicle weight.
What to check in before-and-after photos
- A visible, compacted base layer in progress shots — not just pavers appearing on bare soil.
- Straight, tight joint lines with consistent spacing, packed full of jointing sand.
- A slight slope away from the garage or house so water runs off instead of pooling.
See our paver and stone patios page for the same base principles applied to patios and walkways.
How we build and repair decks so they last
A deck that lasts starts with a ledger board flashed to keep water off the house’s band joist, posts bearing on footings set below the frost line, and joists hung with proper structural hardware rather than toe-nailed. The North Jersey new deck build in the gallery follows that sequence before a single board of decking goes down.
Decking, railings and stairs are the only parts of a deck most homeowners ever see, which is exactly why they are not where deck failures usually start. The ledger connection to the house, the footing depth, and the hardware holding joists to beams do the structural work and are also the parts that get covered up first.
What a quality deck build gets right
- Ledger board flashed or otherwise sealed against the house rim joist before it is bolted on, not caulked as an afterthought.
- Footings that bear on undisturbed soil below the frost line, sized to the post spacing and load.
- Joist hangers and structural screws or bolts at every connection, not nails alone.
Our deck builders page covers new construction, and deck repair and restoration covers what we look for when an existing deck needs structural work rather than just a fresh coat of stain.
Roofing, siding and gutter work in the gallery
The full roof replacements, storm damage repairs and seamless gutter installs in the gallery follow the same standard: tear-off to the deck, new underlayment and flashing at every valley and penetration, gutters pitched to actually move water, and siding tied into the flashing behind it rather than caulked over gaps.
The gallery includes a full roof replacement and a roof repair, both in Bergen County; a storm damage repair in Passaic County; a new shingle roof; seamless gutters; and a siding and stone veneer chimney job spanning North Jersey. All of it comes back to the same water-management principle covered in our roofing and siding pages: flashing and drainage detail matter more than the finish material on top of them.
What we prioritize on every roofing or siding job
- New flashing at valleys, chimneys, skylights and sidewalls — not reused flashing tucked under new shingles.
- Gutters pitched consistently toward the downspouts, not just hung level.
- Siding panels and trim with the water-resistive barrier and flashing installed correctly behind them, which the National Roofing Contractors Association and most siding manufacturers treat as the part of the system that actually keeps water out.
How to read a before-and-after photo
Read a before-and-after photo the same way an inspector would: compare joint and course lines for consistency, look for visible drainage or flashing detail rather than just a clean finish, and check that the after photo shows the same angle and distance as the before so nothing is hidden by cropping or a different vantage point.
A finished project photographed from across the yard can hide a lot. The details that separate durable work from a quick cosmetic fix — base depth, flashing, joint consistency, drainage — are mostly visible only in wider shots, close-ups of edges and corners, or progress photos taken mid-project.
Questions worth asking about any project photo
- Is there a progress shot showing the base, framing or flashing before it was covered up?
- Do the joint lines, coursing and trim stay straight and consistent across the full width of the photo, not just the center?
- Does the after photo match the before photo’s angle, so you are comparing the same section of the house or yard?
How to ask us for photos of a project like yours
To ask for photos of a project similar to yours, describe the specific work — material, rough size, and whether it is a repair or new installation — when you call or text (862) 271-1225, or mention it in the contact form. We can point you to comparable finished work from the gallery or recent jobs during your free, on-site estimate.
The gallery above shows a sample of finished work, not everything we have built. If you are planning a specific project — a retaining wall of a certain height, a particular deck material, a chimney rebuild similar in scope to your chimney — tell us the specifics and we can usually show you comparable work, including angles and details that answer questions the gallery photo alone does not.
The most useful information to share is the material or product you are considering, roughly how large the area or structure is, and whether it is new construction or a repair to something existing. Reach us at (862) 271-1225 or through our contact page to set up a free, written estimate.
Frequently Asked Questions
Are the photos in the gallery all from Bergen County, NJ?
Most are from Bergen County, with others from Passaic County and elsewhere in North Jersey, as the captions note — for example, Franklin Lakes, Ridgewood, Hackensack, Paramus and Totowa. We work across our full service area, so a project photographed in one town reflects the same standard we apply everywhere we work.
Can I see more photos than what's in the gallery?
Yes. We post new before-and-afters on Facebook as jobs wrap up, in addition to what’s shown here. If you’re researching a specific project type, call or text (862) 271-1225 and we can talk through comparable finished work during your free estimate.
Does a gallery photo tell me what a similar project will cost?
No — every project gets its own free, written, itemized estimate based on your home’s specific conditions, materials and scope. A photo shows the finished result, not the site conditions, access, or material choices that actually drive the scope of a quote.
How can I tell if masonry or paver work in a photo was done well?
Look for straight, consistent joint lines, a visible base or drainage detail in any progress shots, and a slight slope away from the house or garage. Uneven coursing, joints packed with mortar of different widths, or pavers that appear to sit directly on soil are signs the underlying prep may be missing.
Do the gallery photos show your own crew's work?
Yes — the gallery shows projects completed by our own crew, not subcontracted work. That includes the roofing, chimney, masonry, siding, gutter and deck photos shown, consistent with how we staff every project across our service area.
- Construction of Interlocking Concrete Pavements (PAV-TEC-002) — Concrete Masonry & Hardscapes Association (successor to the Interlocking Concrete Pavement Institute)
- Homeowner Resources — Chimney Safety Institute of America
- Consumer Information — National Roofing Contractors Association